awe-105 Develop module
Developer module offers a series of tools designed to facilitate developer's tasks.
User manual
In order to use the developer module, it is necessary to:
- Include the following dependency in project's
pom.xmlfile:
<dependency>
  <groupId>com.almis.awe</groupId>
  <artifactId>awe-developer-spring-boot-starter</artifactId>
</dependency>
- Add awe-developer module to
application.propertiesfile
# Utilities list
awe.application.module-list=app,awe-developer,awe
- Add the following options in
public.xmlorprivate.xmlfiles:
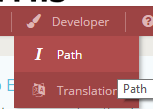
<option name="developer" label="MENU_DEVELOPER" icon="paint-brush">
  <option name="path-manager" label="MENU_PATH" screen="path-manager" icon="terminal"/>
  <option name="local-manager" label="MENU_LANGUAGES" screen="local-manager" icon="language"/>
</option>
Selecting XML file path
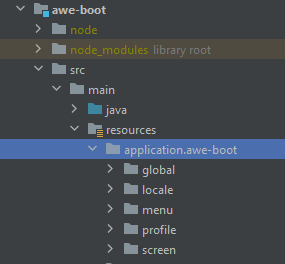
Firstly, is necessary to define the path where application's XML files are located, so developer tools can found and modify them:

It is important that the path we add matches the root of our XML files. All application's folders with the XML files will be in such place:
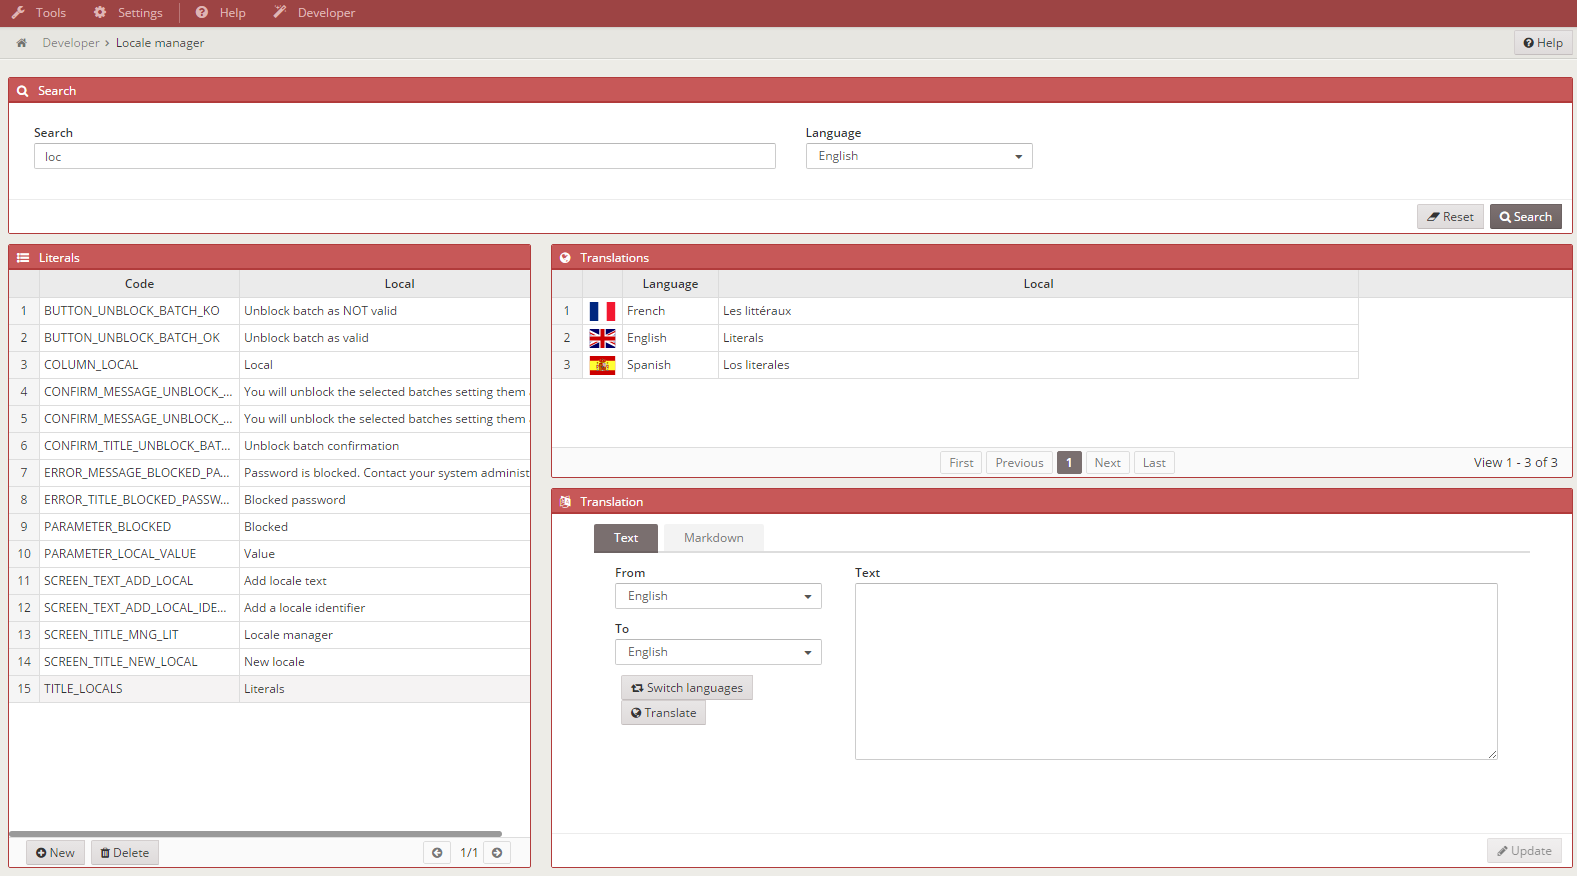
Locale manager
The locale manager is a tool that allow to add, modify and delete an application's locales:
All actions performed affect the memory as well as the actual XML files. This way, it is not necessary to reload the application server everytime a change is done, it is just enough to reload the webpage.
Also, the locale manager works side by side with a translation API that offers an initial approximation to the translated text to the different languages used in the application when a new locale is added. It also allows to perform translations in real time.
The locale manager has some criteria that allow to select the language that we are going to work with and to do a search of already existing locales:

New locale
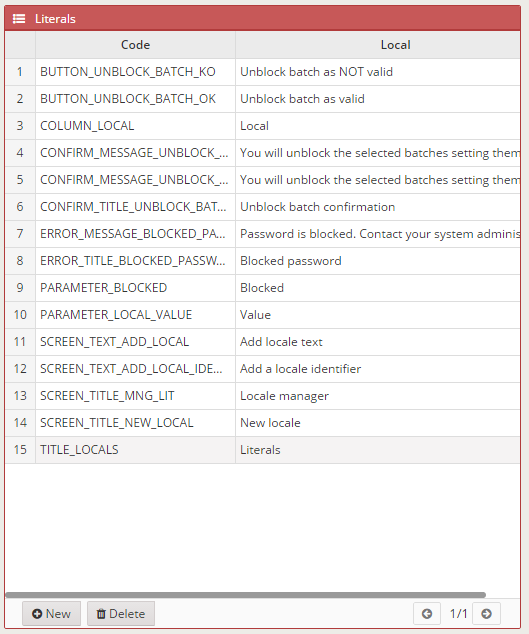
To add a new locale, we have to click the New button that can be found in the lower part of the locale list:
A dialog will appear where we have to introduce the locale code (unique identifier) and the text in the language that we have selected in language criteria.
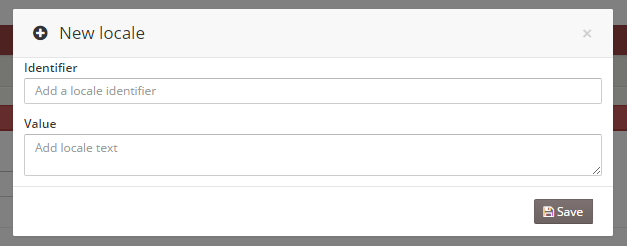
When adding a new locale, it will be created in all the languages defined in the application automatically. It is advisable to check the automatic translation to see if it is correct.
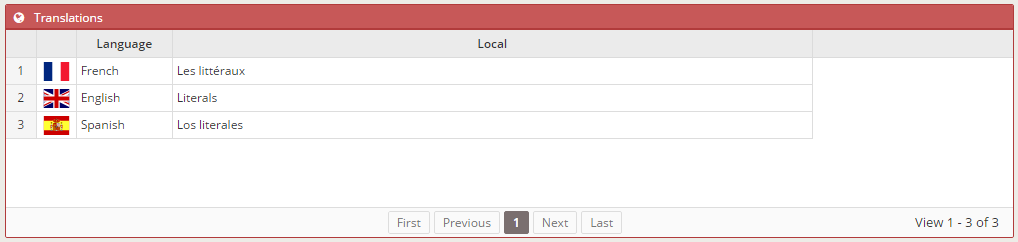
Modify locale
If we select a locale in the list of locales, all the translations of that locale will appear as well:
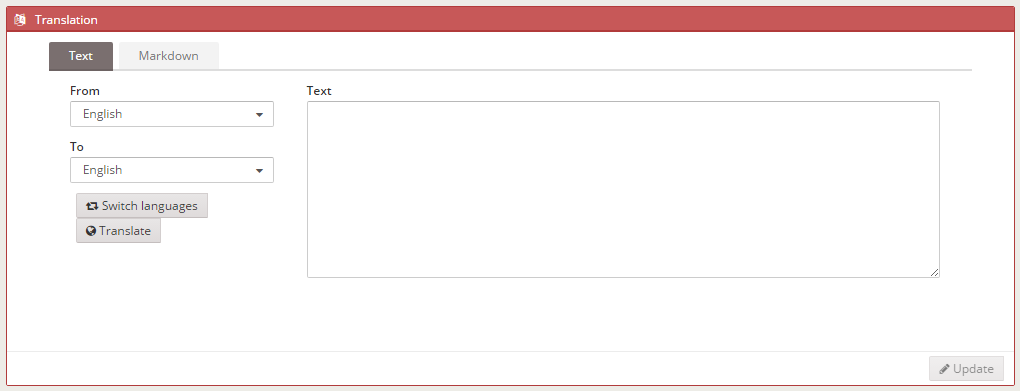
If we select a language, we can modify the value of that locale in that language:
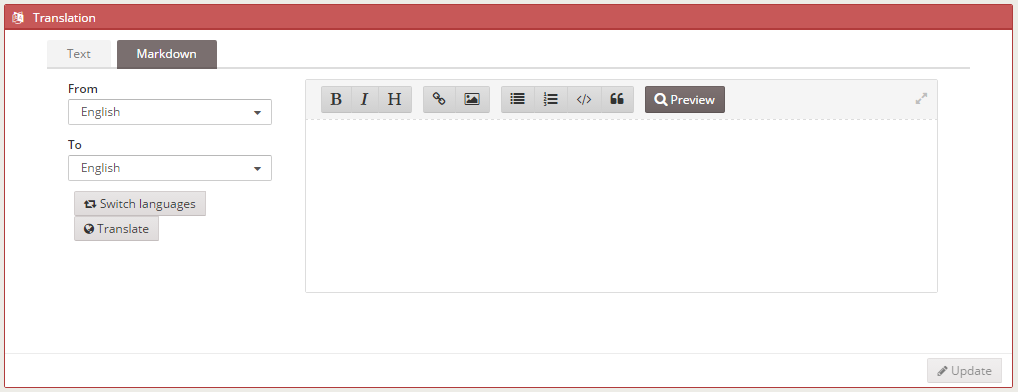
If we select the Markdown tab, we can edit the text using markdown instead of just plain text:
If we want to do an automatic translation, we have to select the original language and the desired one in the selector criteria and click the Translate button; the text will be automatically translated.
To save all modifications, we need to click the Update button.
Delete locale
If we select a locale from the list and click the Delete button, it will be removed from the list in all available languages.