Menu definition
Navigation menu for an AWE application is defined in XML files. The two menu XML files are:
- public.xml: Contains the public screens (those who can be accessed without log into the system).
- private.xml: Screens inside the log protection
Note: All menu XML descriptors are defined at menu folder. View project structure for more info.
Menu structure
The menu files must have the following skeleton:
<menu screen="[initial-screen]" context="[default-context]" default-action="[default-action]">
</menu>
| Attribute | Use | Type | Description | Values |
|---|---|---|---|---|
| screen | Required | String | Is the default screen that will be showed at beginning | |
| context | Optional | String | Is the context where all the options will be launched (if an specific context is not defined) | See contexts |
| default-action | Optional | String | Is the action that all the options will call (if an specific action is not defined) |
There is a new tag too to define the position, and the menu type inside a screen: menu-container:
<menu-container type="[orientation]"/>
Where [orientation] can be vertical or horizontal. Another way to change the menu type is selecting the initial menu screen in private.xml file:
<menu screen="HomHor"…
For horizontal menu
<menu screen="HomVer"…
For vertical menu
Contexts
The context attribute defines where are the options defined inside the menu going to be launched. There are several defined context which can be used depending on the menu type:
| Context path | Menu | Description |
|---|---|---|
screen | public | Useful for a single login page without menu |
screen/public/home | public | This context is used when the main page must have a menu. In this case the parameter screen.configuration.home must not be empty, as this will be the screen showed inside the menu. The menu container initial screen will be the one defined on the menu screen attribute |
screen/private/home | private | This context will be used when logging on application. In this case the parameter screen.configuration.information must not be empty, as this will be the screen showed inside the private menu (when the user and the profile haven't any initial screen definition). The menu container initial screen will be the one defined on the menu screen attribute |
Options structure
This is a set of options skeleton code:
<option module="[module]" name="[Option name]" label="[Option label] icon="[Icon option]">
  <option name="[Option name]" label="[Option label]" screen="[Screen name]" menu-screen="[Is menu screen]"/>
  ---
</option>
---
<option/>
Inside the tools option there are a set of options, some of them are 'invisible'. It is necessary to define all the screen the user can access, because if a screen is not defined in the menu it will not be accessible to any user. Also, you can add options inside options, making a multilevel menu.
| Attribute | Use | Type | Description | Values |
|---|---|---|---|---|
| name | Required | String | Is the option name, which is used in the profile files and AweScrRes to restrict an option access. If a parent option is restricted, all children are restricted too | |
| screen | Optional | String | Describes the screen that will be accessed when the user clicks on the option | |
| label | Optional | String | Is a literal which contains the option name | Note: You can use i18n files (locales) |
| module | Optional | String | Defines the module name. Now you can set different menu options for each module | These module names must be configured in table AweMod and it must be the session variable module |
| separator | Optional | Boolean | If set to true, the option is converted into a separator line | Default value is false |
| icon | Optional | String | Defines an icon which will be shown before the option label | You can view the whole icon list here |
| menu-screen | Optional | Boolean | The option is an autogenerated screen with sub-options | See menu-screen for more information |
| expanded | Optional | Boolean | If set to true, the option will be initially expanded (only for vertical menus) | Default value is false |
Menu screen
The menu screen is a new type of autogenerated screen which contains a list of buttons with the options defined
inside the menu-screen option. The visibility of these buttons can be managed with the screen access configuration
screen.
This is an example of menu-screen definition option:
<option name="button-menu" label="MENU_TEST_BUTTON_MENU" icon="th" menu-screen="true" screen="test-button-screen">
  <option name="button-option-0" label="MENU_TEST_CRITERIA" screen="CrtTst" icon="flask"/>
  <option name="button-group-1" label="MENU_TEST_BUTTON_MENU_GROUP_1" icon="keyboard-o">
    <option name="button-option-1" label="MENU_TEST_CRITERIA" screen="CrtTst" icon="keyboard-o"/>
    <option name="button-option-2" label="MENU_TEST_CRITERIA" screen="CrtTstLeft" icon="align-right"/>
    <option name="button-option-3" label="MENU_TEST_CRITERIA_RESET" screen="RstTst" icon="refresh"/>
    <option name="button-option-31" label="MENU_TEST_CRITERIA_RESET" screen="RstTst" icon="refresh"/>
  </option>
  <option name="button-group-2" label="MENU_TEST_BUTTON_MENU_GROUP_2" icon="file-text-o">
    <option name="button-option-4" label="MENU_TEST_CRITERIA" screen="CrtTst" icon="keyboard-o"/>
    <option name="button-option-5" label="MENU_TEST_CRITERIA" screen="CrtTstLeft" icon="align-right"/>
    <option name="button-option-6" label="MENU_TEST_CRITERIA_RESET" screen="RstTst" icon="refresh"/>
    <option name="button-option-7" label="MENU_TEST_CRITERIA" screen="CrtTst" icon="table"/>
    <option name="button-option-8" label="MENU_TEST_CRITERIA" screen="CrtTstLeft" icon="align-right"/>
    <option name="button-option-9" label="MENU_TEST_CRITERIA_RESET" screen="RstTst" icon="sitemap"/>
  </option>
  <option name="button-group-3" label="MENU_TEST_BUTTON_MENU_GROUP_3">
    <option name="button-option-10" label="MENU_TEST_CRITERIA" screen="CrtTst" icon="keyboard-o"/>
    <option name="button-option-11" label="MENU_TEST_CRITERIA" screen="CrtTstLeft" icon="align-right"/>
    <option name="button-option-12" label="MENU_TEST_CRITERIA_RESET" screen="RstTst" icon="refresh"/>
    <option name="button-option-13" label="MENU_TEST_CRITERIA_RESET" screen="RstTst" icon="refresh"/>
    <option name="button-option-14" label="MENU_TEST_CRITERIA_RESET" screen="RstTst" icon="refresh"/>
  </option>
</option>
Which generates a screen like:
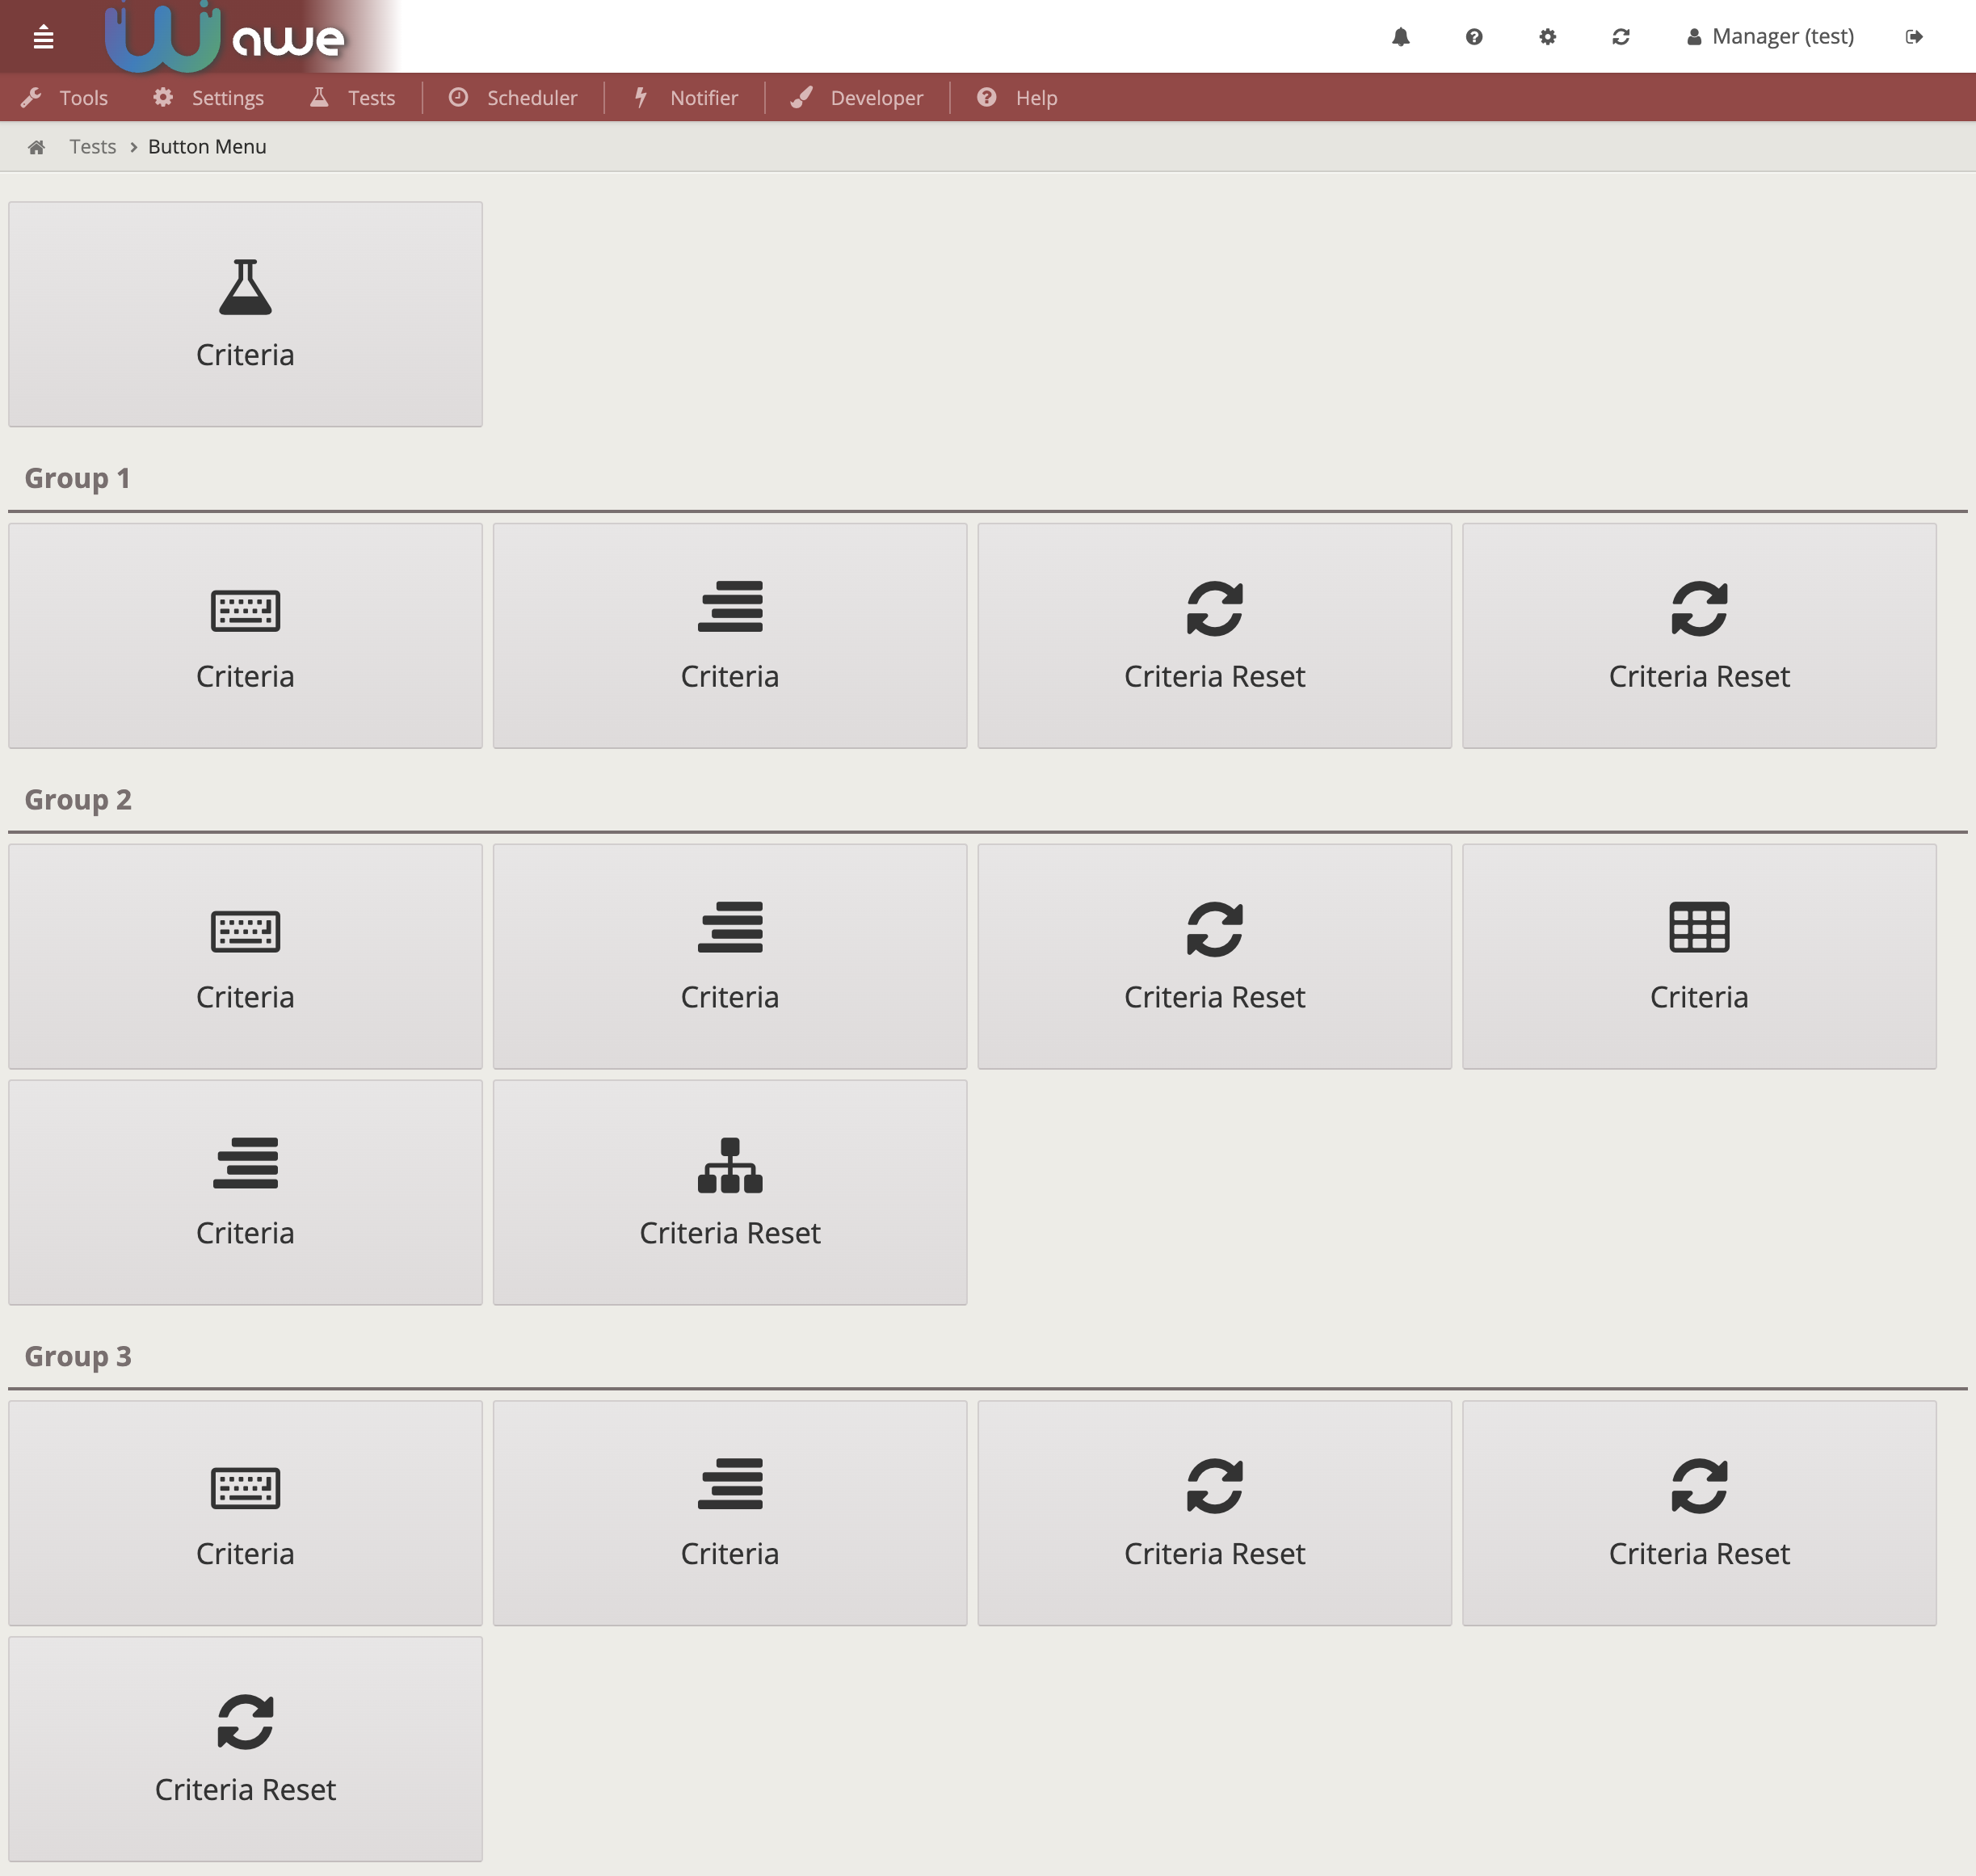
Each button links to the correspondent option defined inside the menu-screen option.
There is also a grouping level (only one) which generates a header to group some options inside
Examples
<menu screen="home_horizontal" xmlns:xsi="http://www.w3.org/2001/XMLSchema-instance"
xsi:noNamespaceSchemaLocation = "../../sch/menu.xsd" context="screen/home" default-action="screen">
  <option name="information" screen="info" invisible="true" />
  <option module="Inf" name="information_restricted" screen="info" invisible="true" />
  <option module="Inf Changed" name="information_restricted_changed" screen="info" invisible="true" />
  <option name="tools" label="MENU_TOOLS" icon="wrench" expanded="true">
    <option name="themes" label="MENU_TOOLS_THEMES" screen="Thm" icon="picture-o"/>
    <option name="new_theme" screen="ThmNew" invisible="true" />
    <option name="update_theme" screen="ThmUpd" invisible="true" />
    <option name="view_theme" screen="ThmViw" invisible="true" />
    <option name="security" label="MENU_TOOLS_SECURITY" icon="unlock-alt">
      <option name="screen_access" label="MENU_TOOLS_SCREENS_ACCESS" screen="ScrAccRes" icon="eye-slash"/>
      <option name="encrypt_tools" label="MENU_TOOLS_SCREEN_ENCRYPT" screen="ScrEncTxt" icon="lock"/>
    </option>
  </option>
  <option name="HlpSep" separator="true"/>
  <option name="help" label="MENU_HELP" icon="question-circle">
    <option name="user_help" label="MENU_USER_HELP" screen="Hlp" icon="question"/>
    <option name="application_help" label="MENU_HELP_APPLICATION" screen="AppHlp" icon="question"/>
    <option name="application_info" label="MENU_APP_INF" screen="ViwAppInf" icon="info"/>
  </option>
</menu>
Favourites (NEW)
Favourites is a brand new functionality added since 4.7.1 version of AWE. This functionality allows the user to mark any subpage (on report view) as favourite.
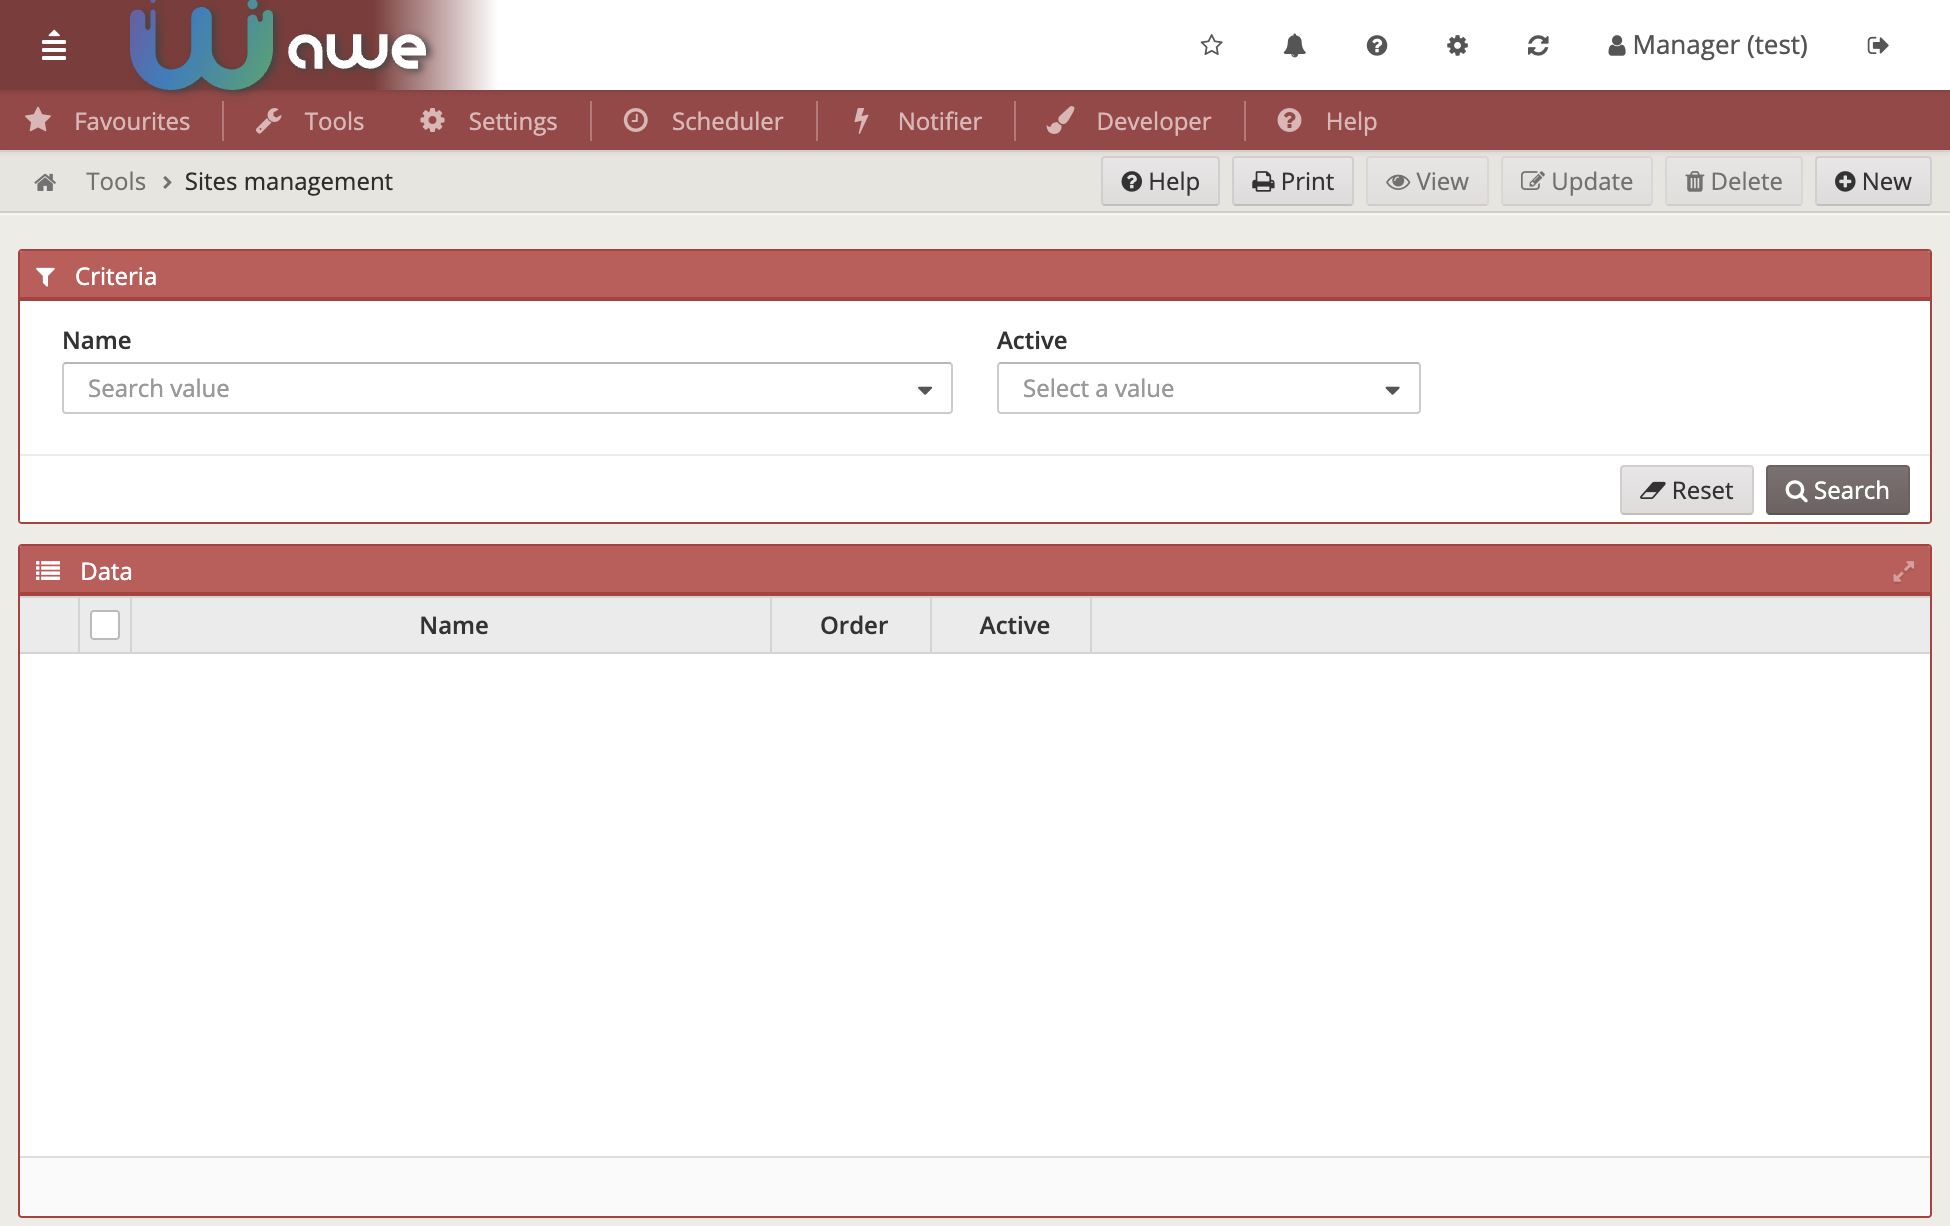
To use this functionality, simply add this piece of code into your navbar:
<include target-screen="info-buttons" target-source="favourites"/>
This will add a star button on the top navbar which will appear while the user navigates through the screens.

This button will be filled up when the current screen is marked as favourite. To mark/unmark a screen as favourite simply click on this button.

When a screen is marked as favourite, it will appear on a new menu option called Favourites on
the first position on the menu:
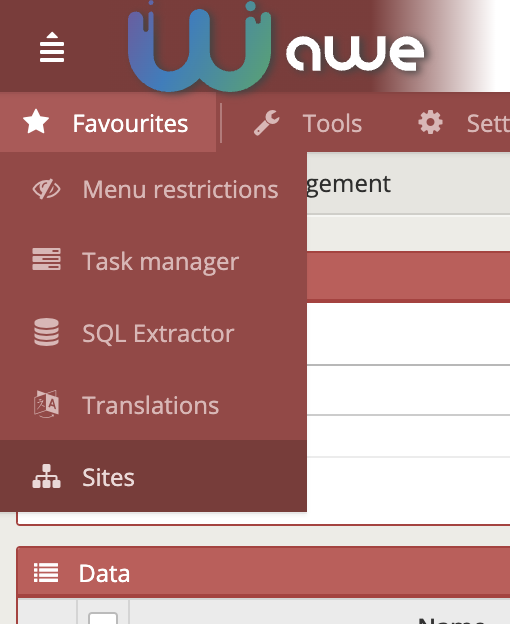
To remove it from the Favourites option, simply navigate to the screen and unmark it
on the star button.