awe-105 Develop module
The developer module provides helper tools for common AWE maintenance tasks. In practice, the most visible workflow is locale management: define the XML root once, then add, update, translate, or delete locale entries without manually editing every file by hand.
Quick path
- Add the developer starter dependency.
- Enable the module in
application.properties. - Add the developer menu entries.
- Configure the XML root path.
- Use the locale manager for create, update, translate, and delete flows.
Before you start
This module is most useful after you already have a working application structure and some locale files to manage.
If you have not created screens and locale keys yet, review awe-102 first.
Step 1: Enable the developer module
Add the dependency in pom.xml:
<dependency>
  <groupId>com.almis.awe</groupId>
  <artifactId>awe-developer-spring-boot-starter</artifactId>
</dependency>
Enable the module in application.properties by adding awe-developer to your existing module list:
# Keep your current application-specific modules.
# Add awe-developer alongside the modules you already use.
awe.application.module-list=<your-existing-modules>,awe-developer
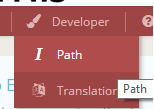
Expose it through the menu:
<option name="developer" label="MENU_DEVELOPER" icon="paint-brush">
  <option name="path-manager" label="MENU_PATH" screen="path-manager" icon="terminal"/>
  <option name="local-manager" label="MENU_LANGUAGES" screen="local-manager" icon="language"/>
</option>
Step 2: Configure the XML root path
Before the tools can edit your application descriptors, they need the root path where your application XML files live.
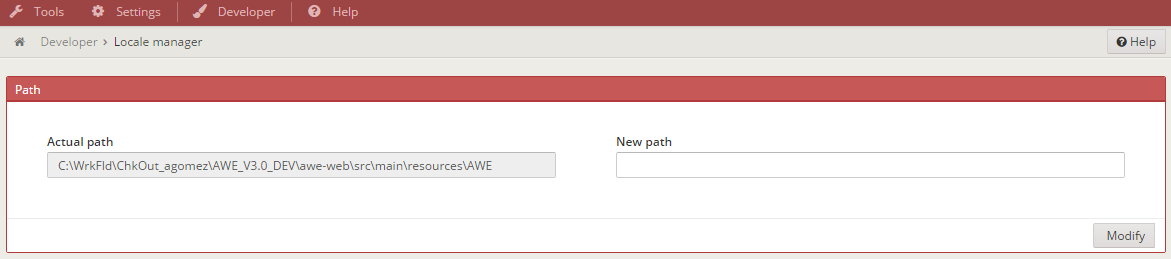
Point the module to the root that contains the application folders:
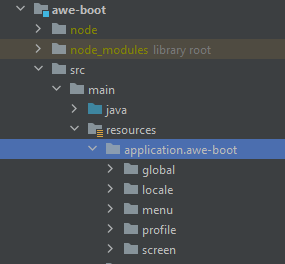
In other words, the configured path should be the parent location of folders such as global/, locale/, menu/, and screen/.
Step 3: Use the locale manager
The locale manager is the most common developer-module workflow. It helps you add, modify, translate, and delete locale entries across the application.
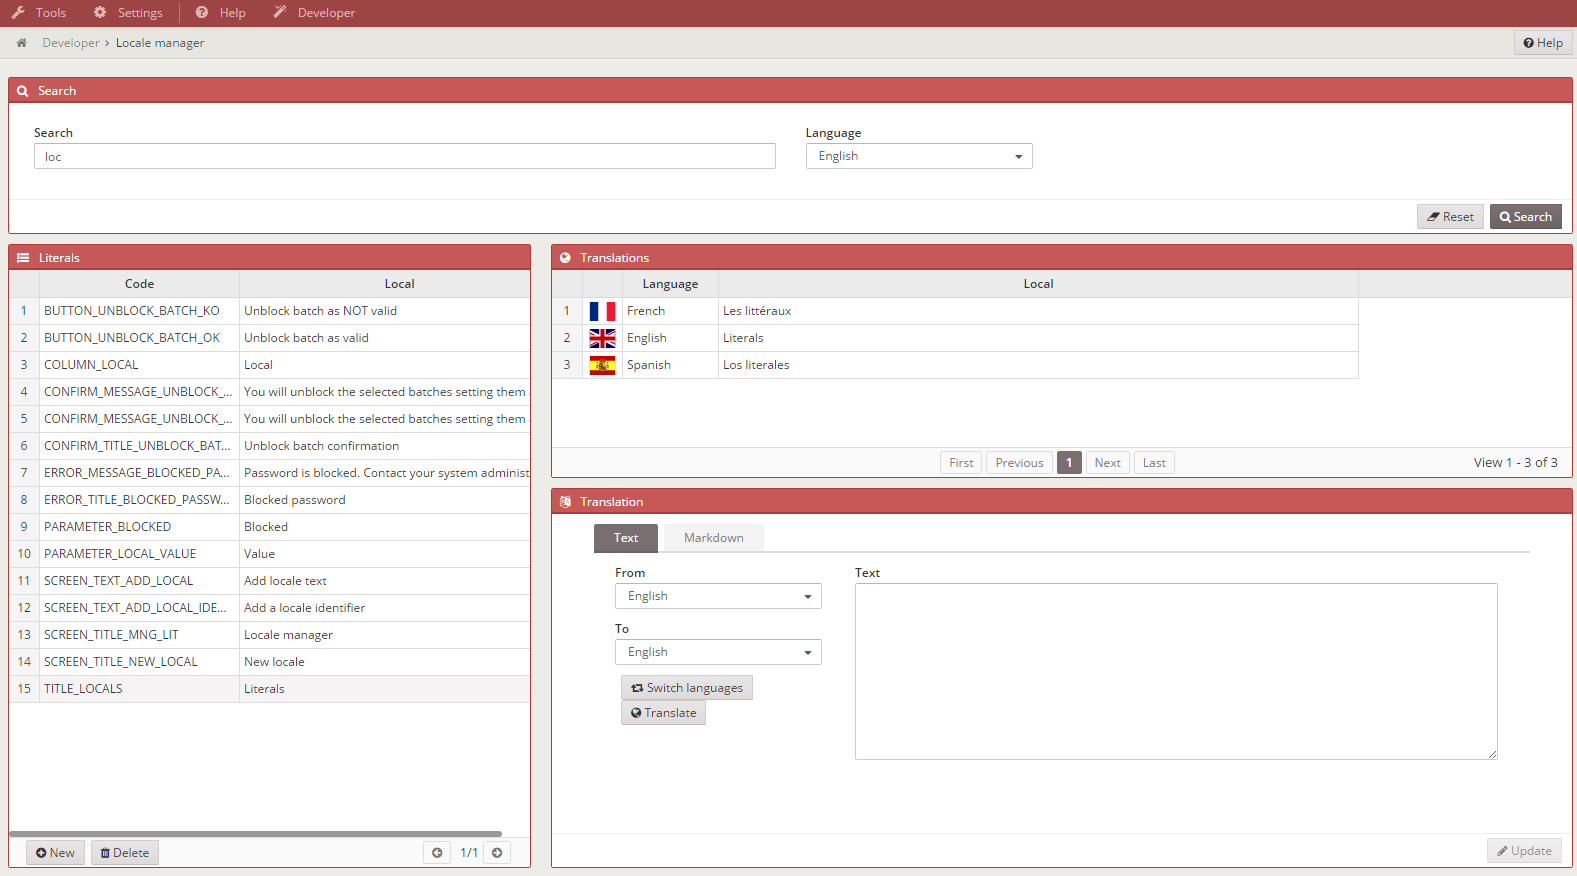
Changes affect both the in-memory state and the underlying XML files, so in many cases you can refresh the page instead of restarting the application server after a locale-only change.
The manager also integrates with a translation API to provide an initial translation draft for the configured languages. Treat that output as a starting point and review it before keeping it.
The search area usually lets you:
- choose the language you are working in
- search existing locale keys

Add a locale
Click New in the locale list:
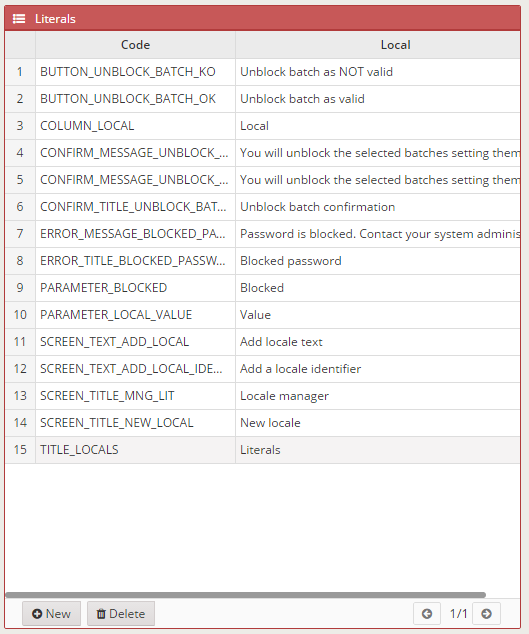
Then provide:
- the locale code (unique identifier)
- the text for the language currently selected in the manager
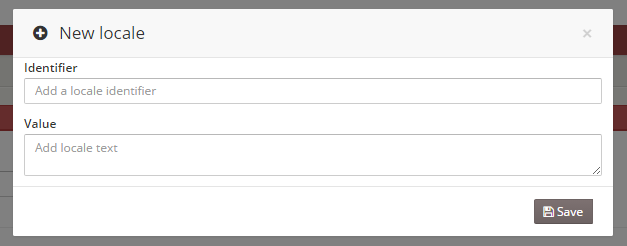
When you add a locale, the module creates it for all languages defined in the application. Review the generated translations before considering them final.
Modify a locale
When you select a locale, the existing translations for that key become visible.
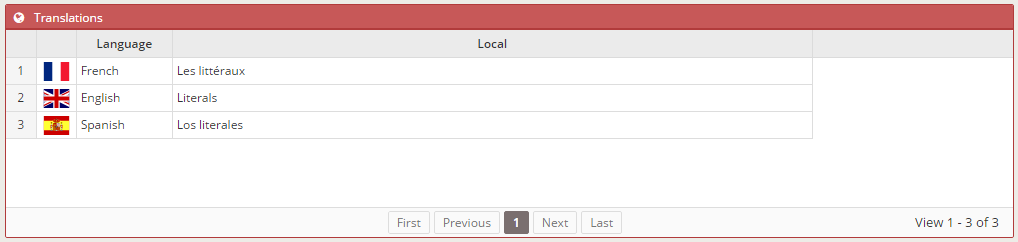
Then you can update the value for the selected language:
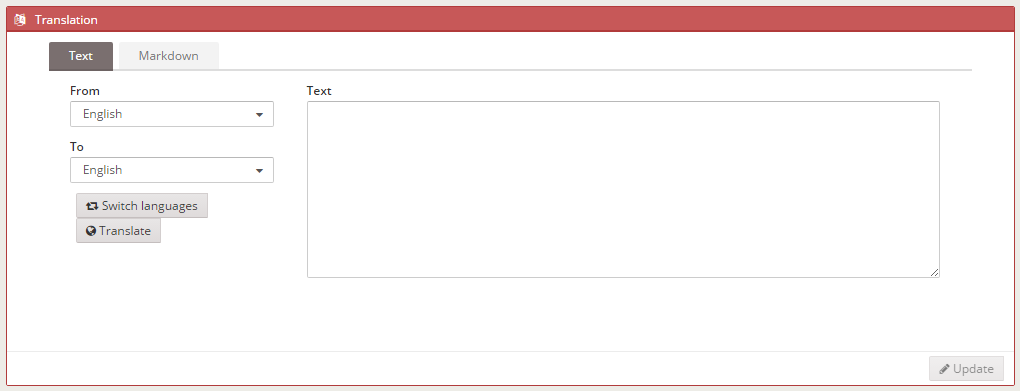
If needed, switch to the Markdown tab to edit the value as Markdown instead of plain text:
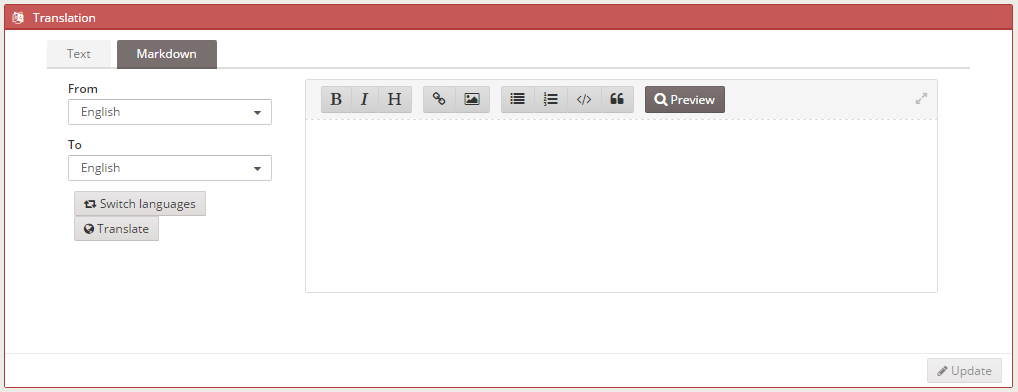
To request an automatic translation, choose the source and target languages and click Translate. Save the final result with Update.
Delete a locale
Select the locale and click Delete to remove it from the available languages.